

Prerequisites
Before you sign in, make sure you have the following:- An organization account with access to Grand Central. If you don’t have access, ask a team member with the Admin role to invite you.
- The console URL for your installation, provided by your Grand Central contact.
If you were invited
An admin on your team adds you to an installation. What you receive depends on your account:- If you already have an active Grand Central account, an admin adds you with a role and you can sign in right away.
- If you’re new to Grand Central, or were invited before but haven’t accepted yet, you receive an invitation email after a second admin approves your invitation. Accept the email, then return to the console to sign in.
Sign in
Sign in with your organization account:1
Open the console
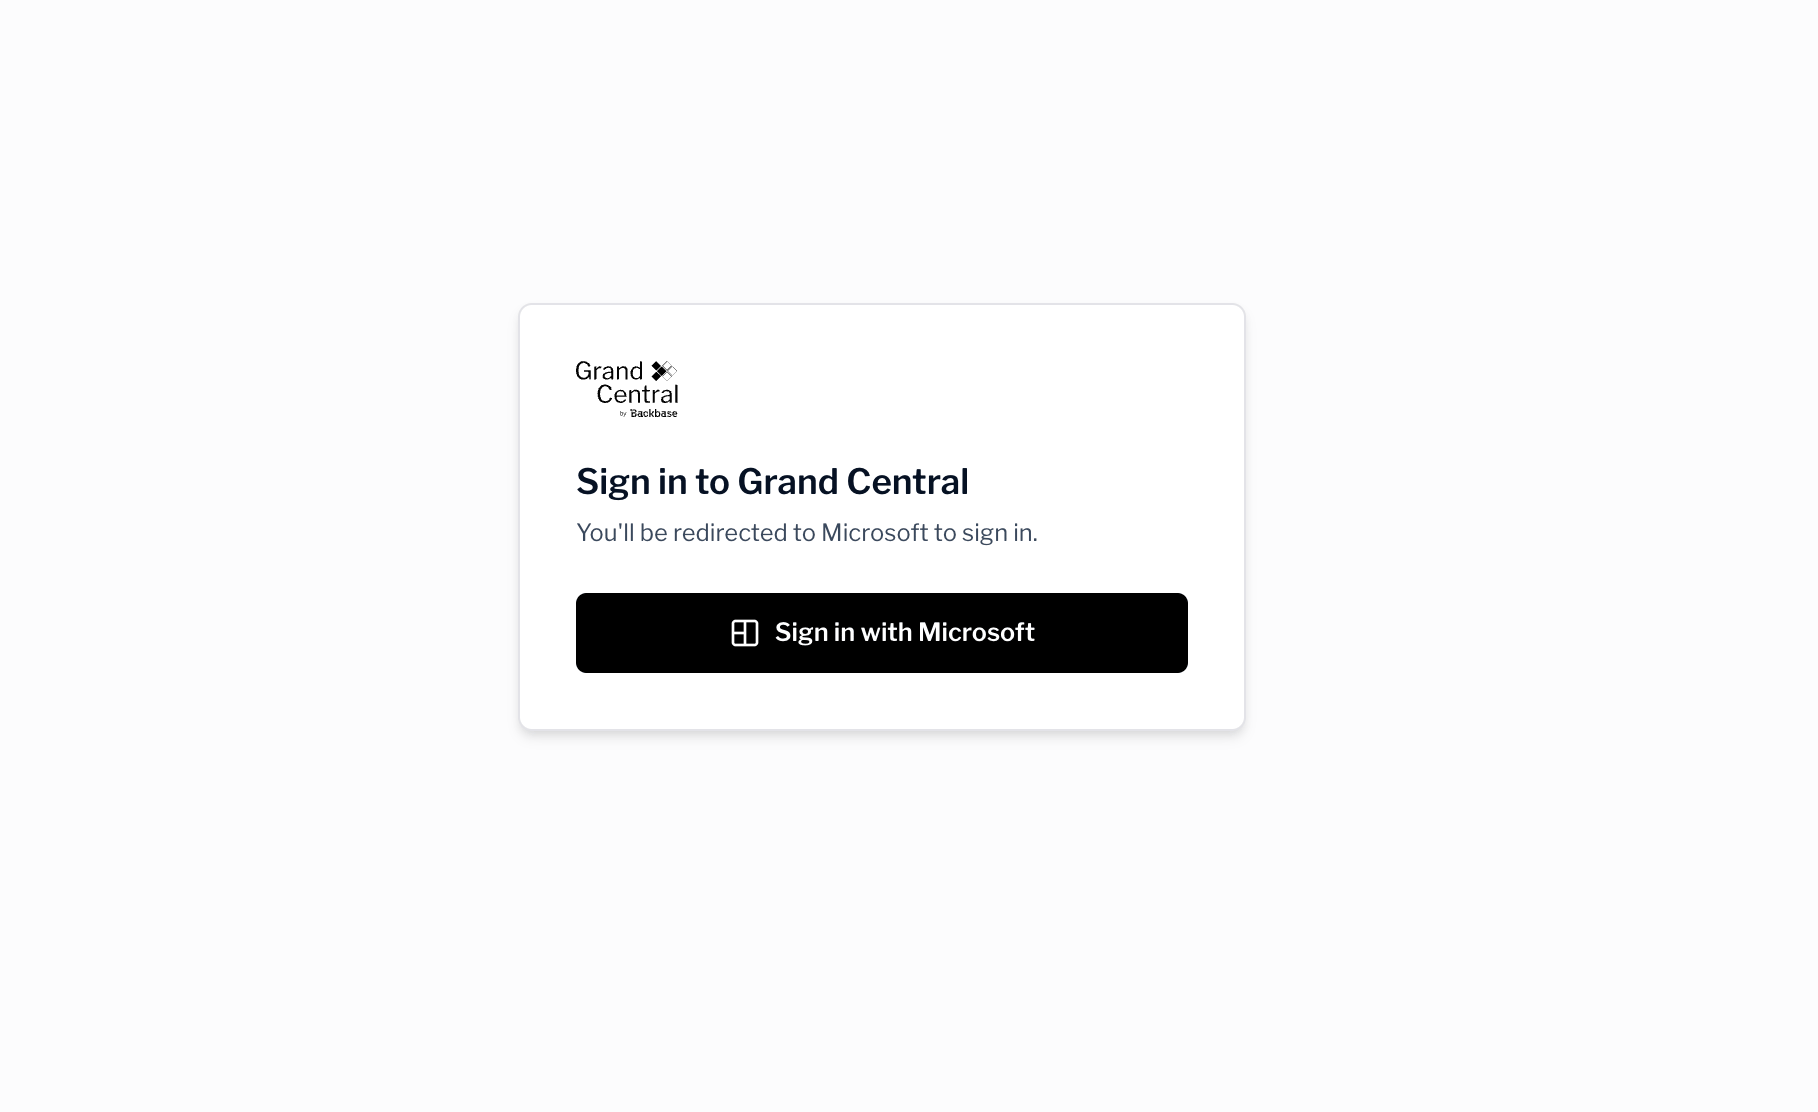
Go to the Grand Central console URL for your installation.
2
Authenticate
Select Sign in and complete your organization’s single sign-on. You land in the console after you authenticate.
3
Select a runtime
In the console, choose the runtime you want to work with, such as your test or production environment. The console scopes everything you see to the runtime you select.
Complete your profile on first sign-in
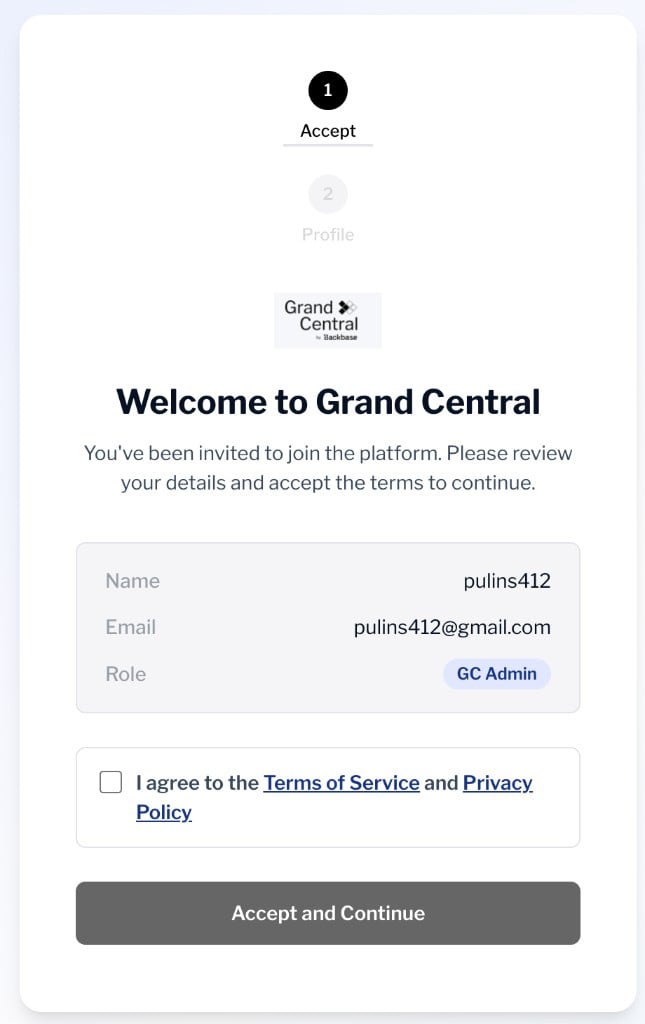
The first time you sign in after an invitation, a short welcome flow guides you through two steps before you reach the console.1
Review your details and accept the terms
On the Welcome to Grand Central step, review your name, email, and role. To continue, agree to the Terms of Service and Privacy Policy, then select Accept and Continue.
2
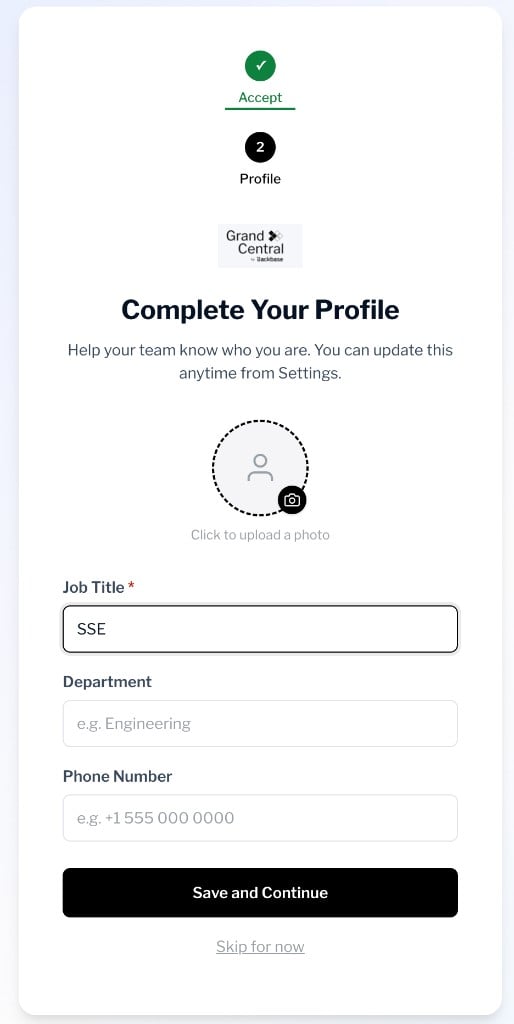
Complete your profile
On the Complete Your Profile step, add your job title, and optionally a department, phone number, and profile photo. Select Save and Continue to finish, or Skip for now to complete it later.
Select and switch runtimes
You choose a runtime in the console after you sign in, not on the sign-in screen. Your installation can contain more than one runtime, so you select the environment you want to work with once you land in the console. To view a different environment later, select the runtime switcher at the top of the console and choose another runtime. The dashboard and connector health update to reflect your selection.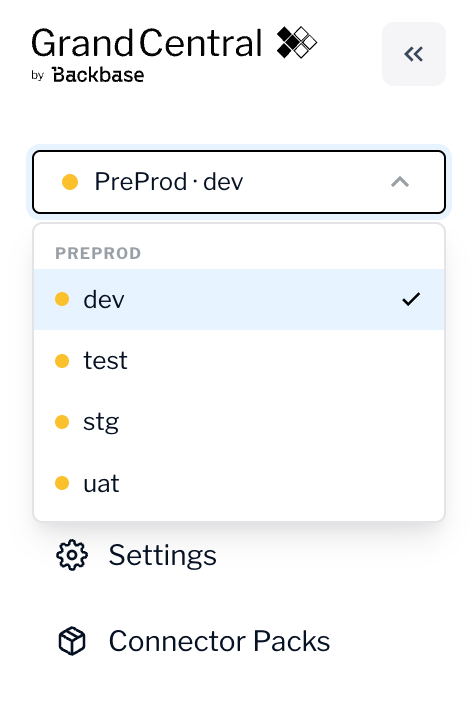
You see only the runtimes you have access to. If a runtime you expect is missing, ask a team member with the Admin role to assign it to you. For more information, see Manage your team.
Troubleshooting
The following table lists common sign-in problems and how to resolve them.Next steps
Explore your dashboard
Review deployed packs and connector health for the runtime you selected.